
Step-by-step guide to defining your area boundaries
To create any project you need to define the boundaries of your study area—eOceans uses these boundaries to know what coordinates are of interest. Here, we show you how to create your own.
**BEFORE YOU GET STARTED:
There are many tools you can use to create your geofence, below we share just one of those ways.
*Note: this is not meant to be instructional or exhaustive, but rather an overview guide for those who already know the basics or are willing to learn more about how to use the programs.
You will need the following FREE programs:
—>Google Earth Pro: here you will draw your boundary and export a
—> R: here you will run code and packages to convert your file (above) into a .zip that will be uploaded to eOceans
In Google Earth Pro
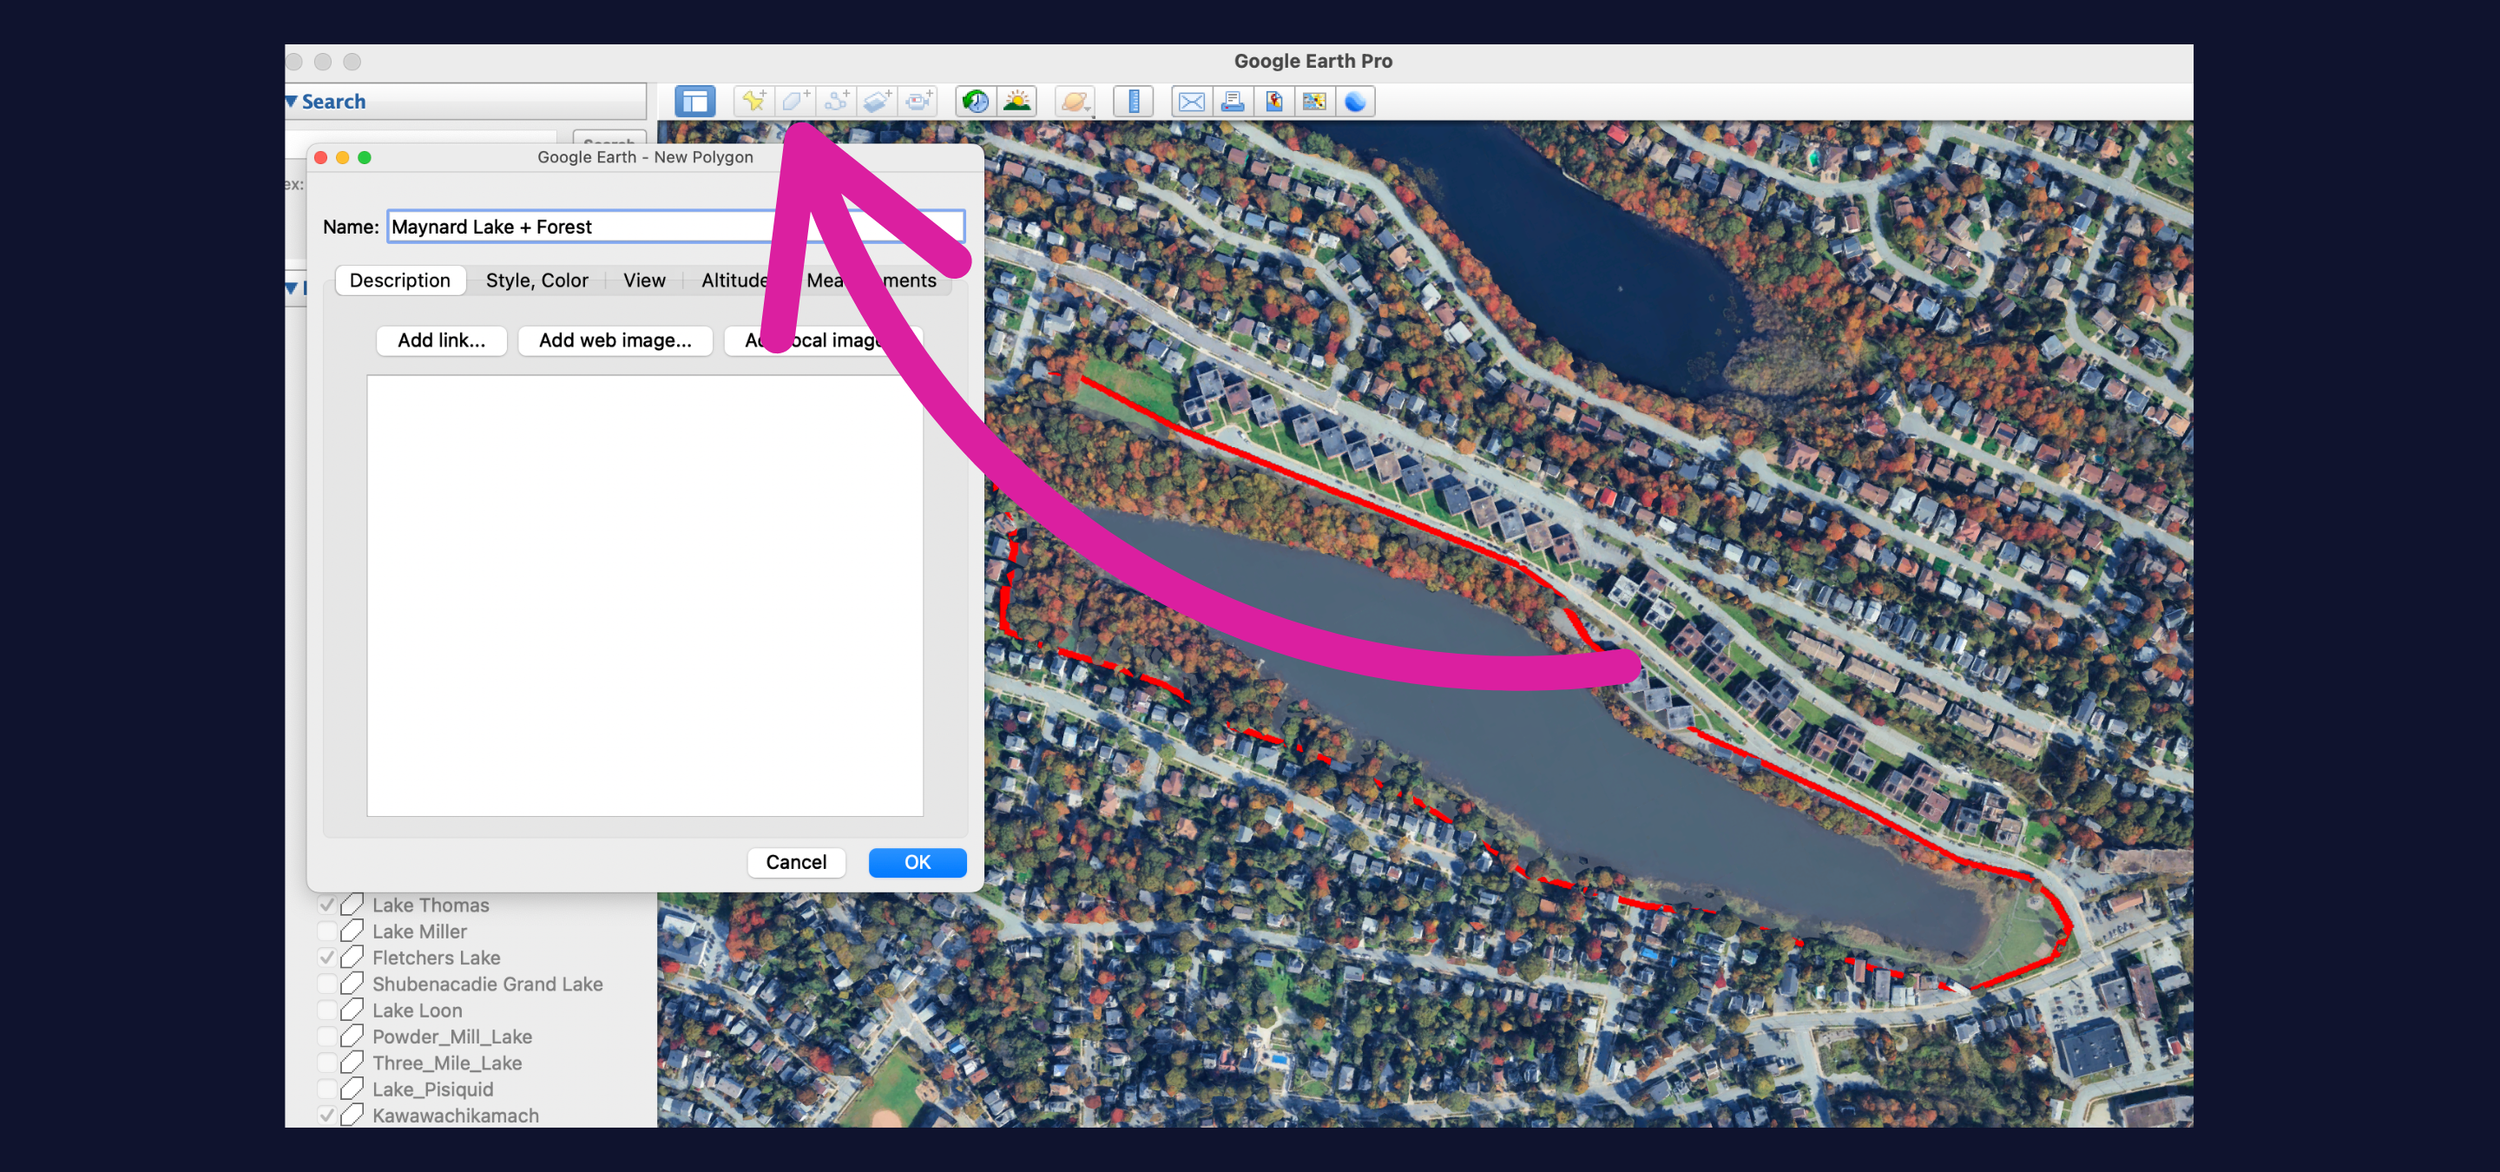
Once you’ve downloaded the program and logged in, you’ll create a polygon and save it.
—> Click the polygon feature,
—> Select the way you want the polygon to appear
—> Point and click to create the polygon
—> Click “OK”
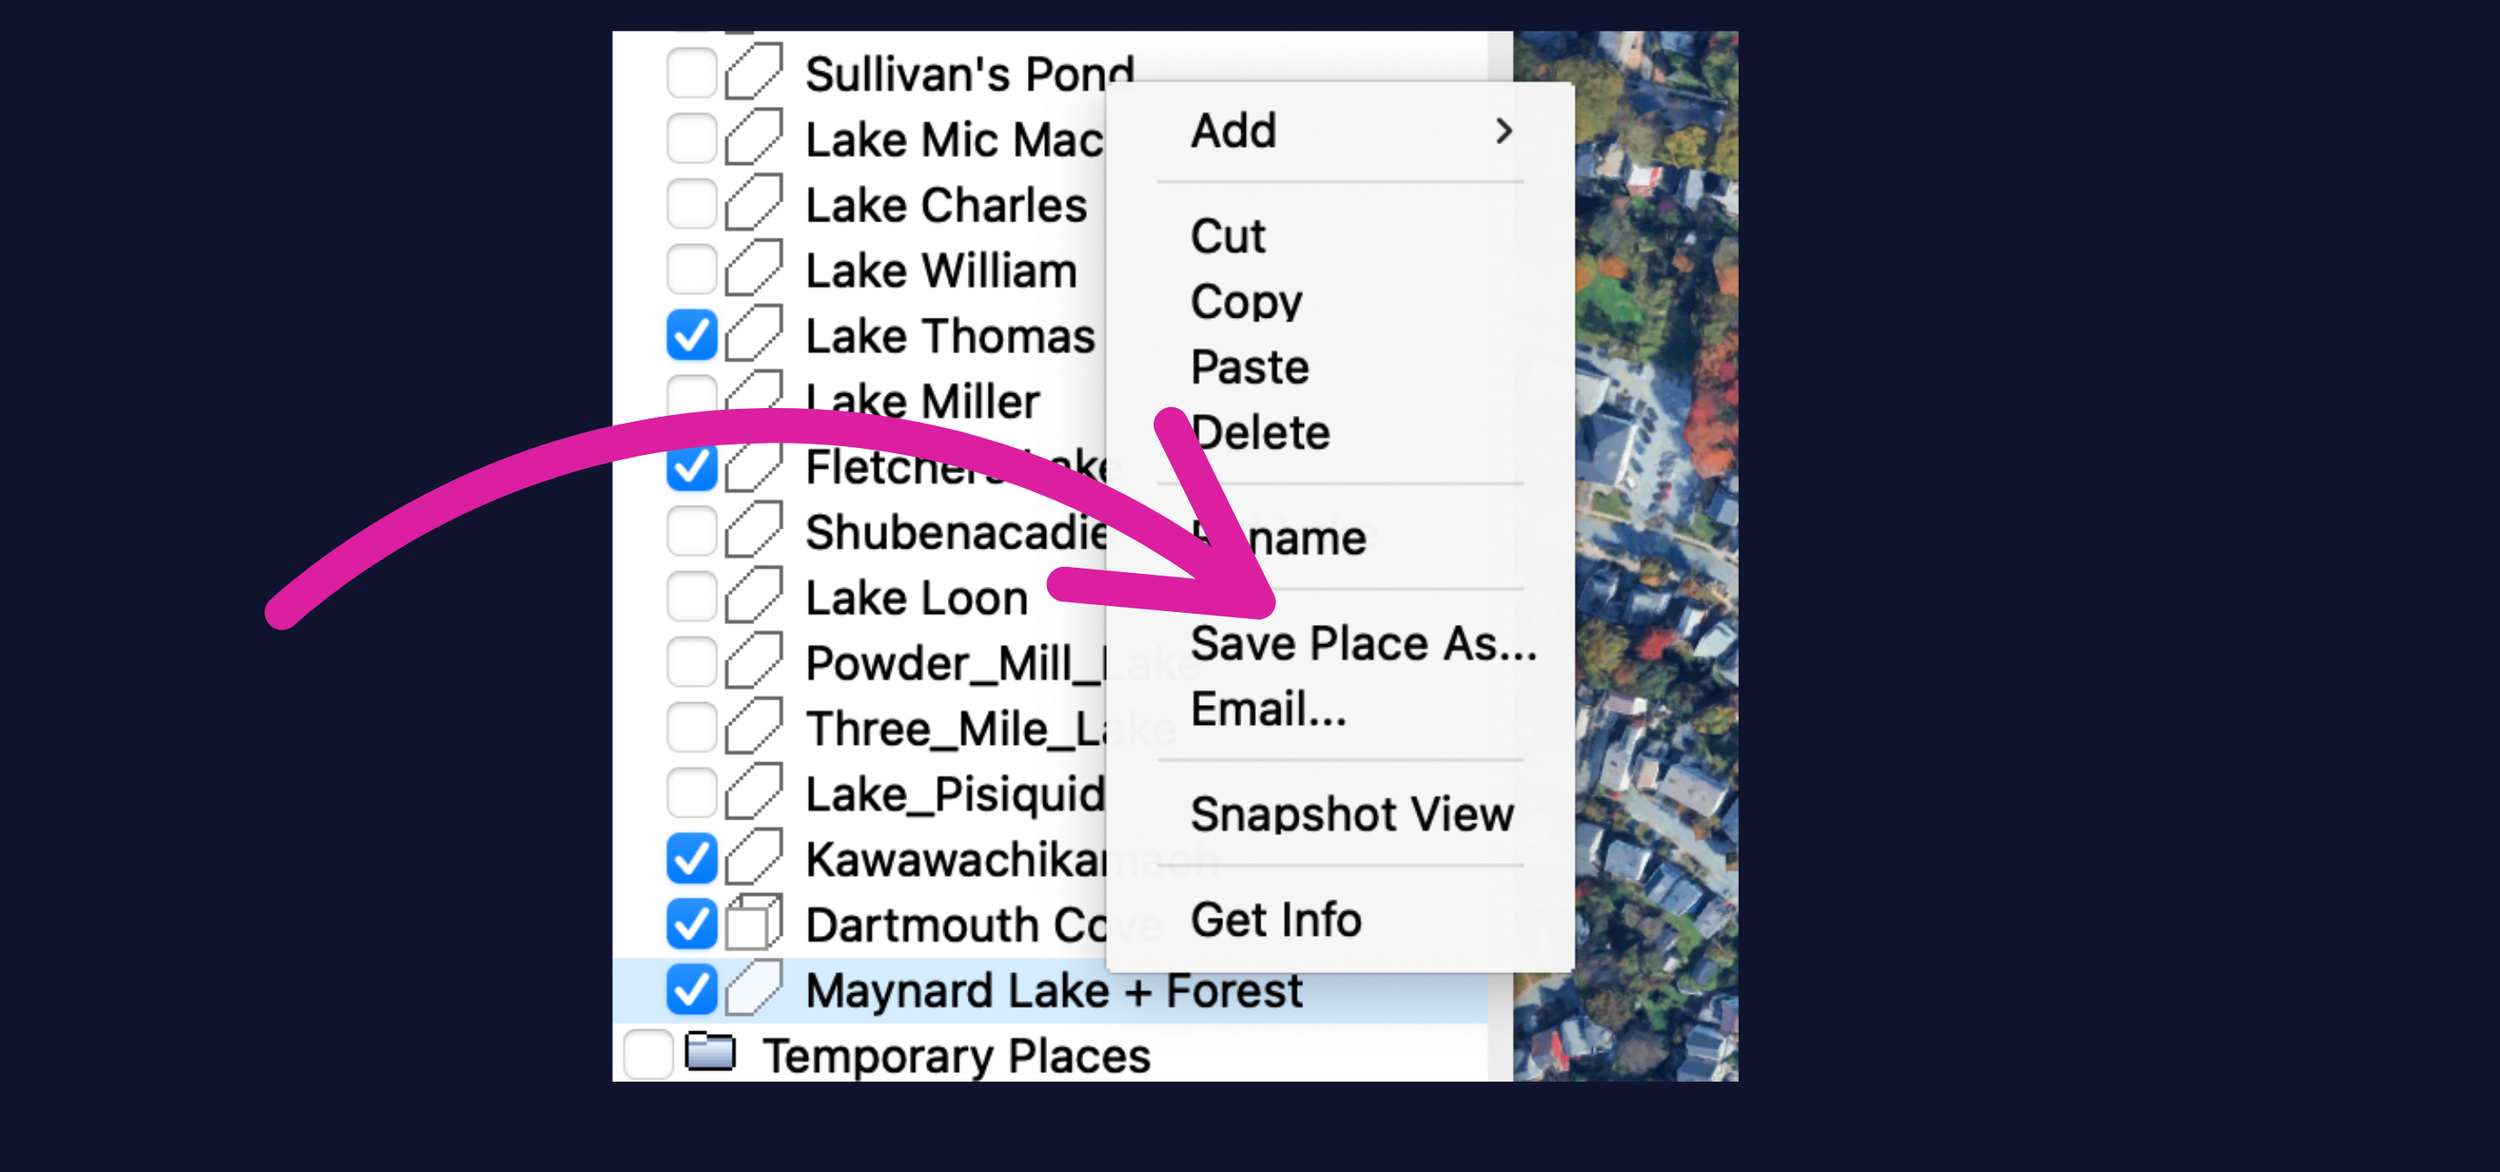
Now you need to download the file:
—> Find the file in your polygon list
—> right click
—> Select “Save Place As…”
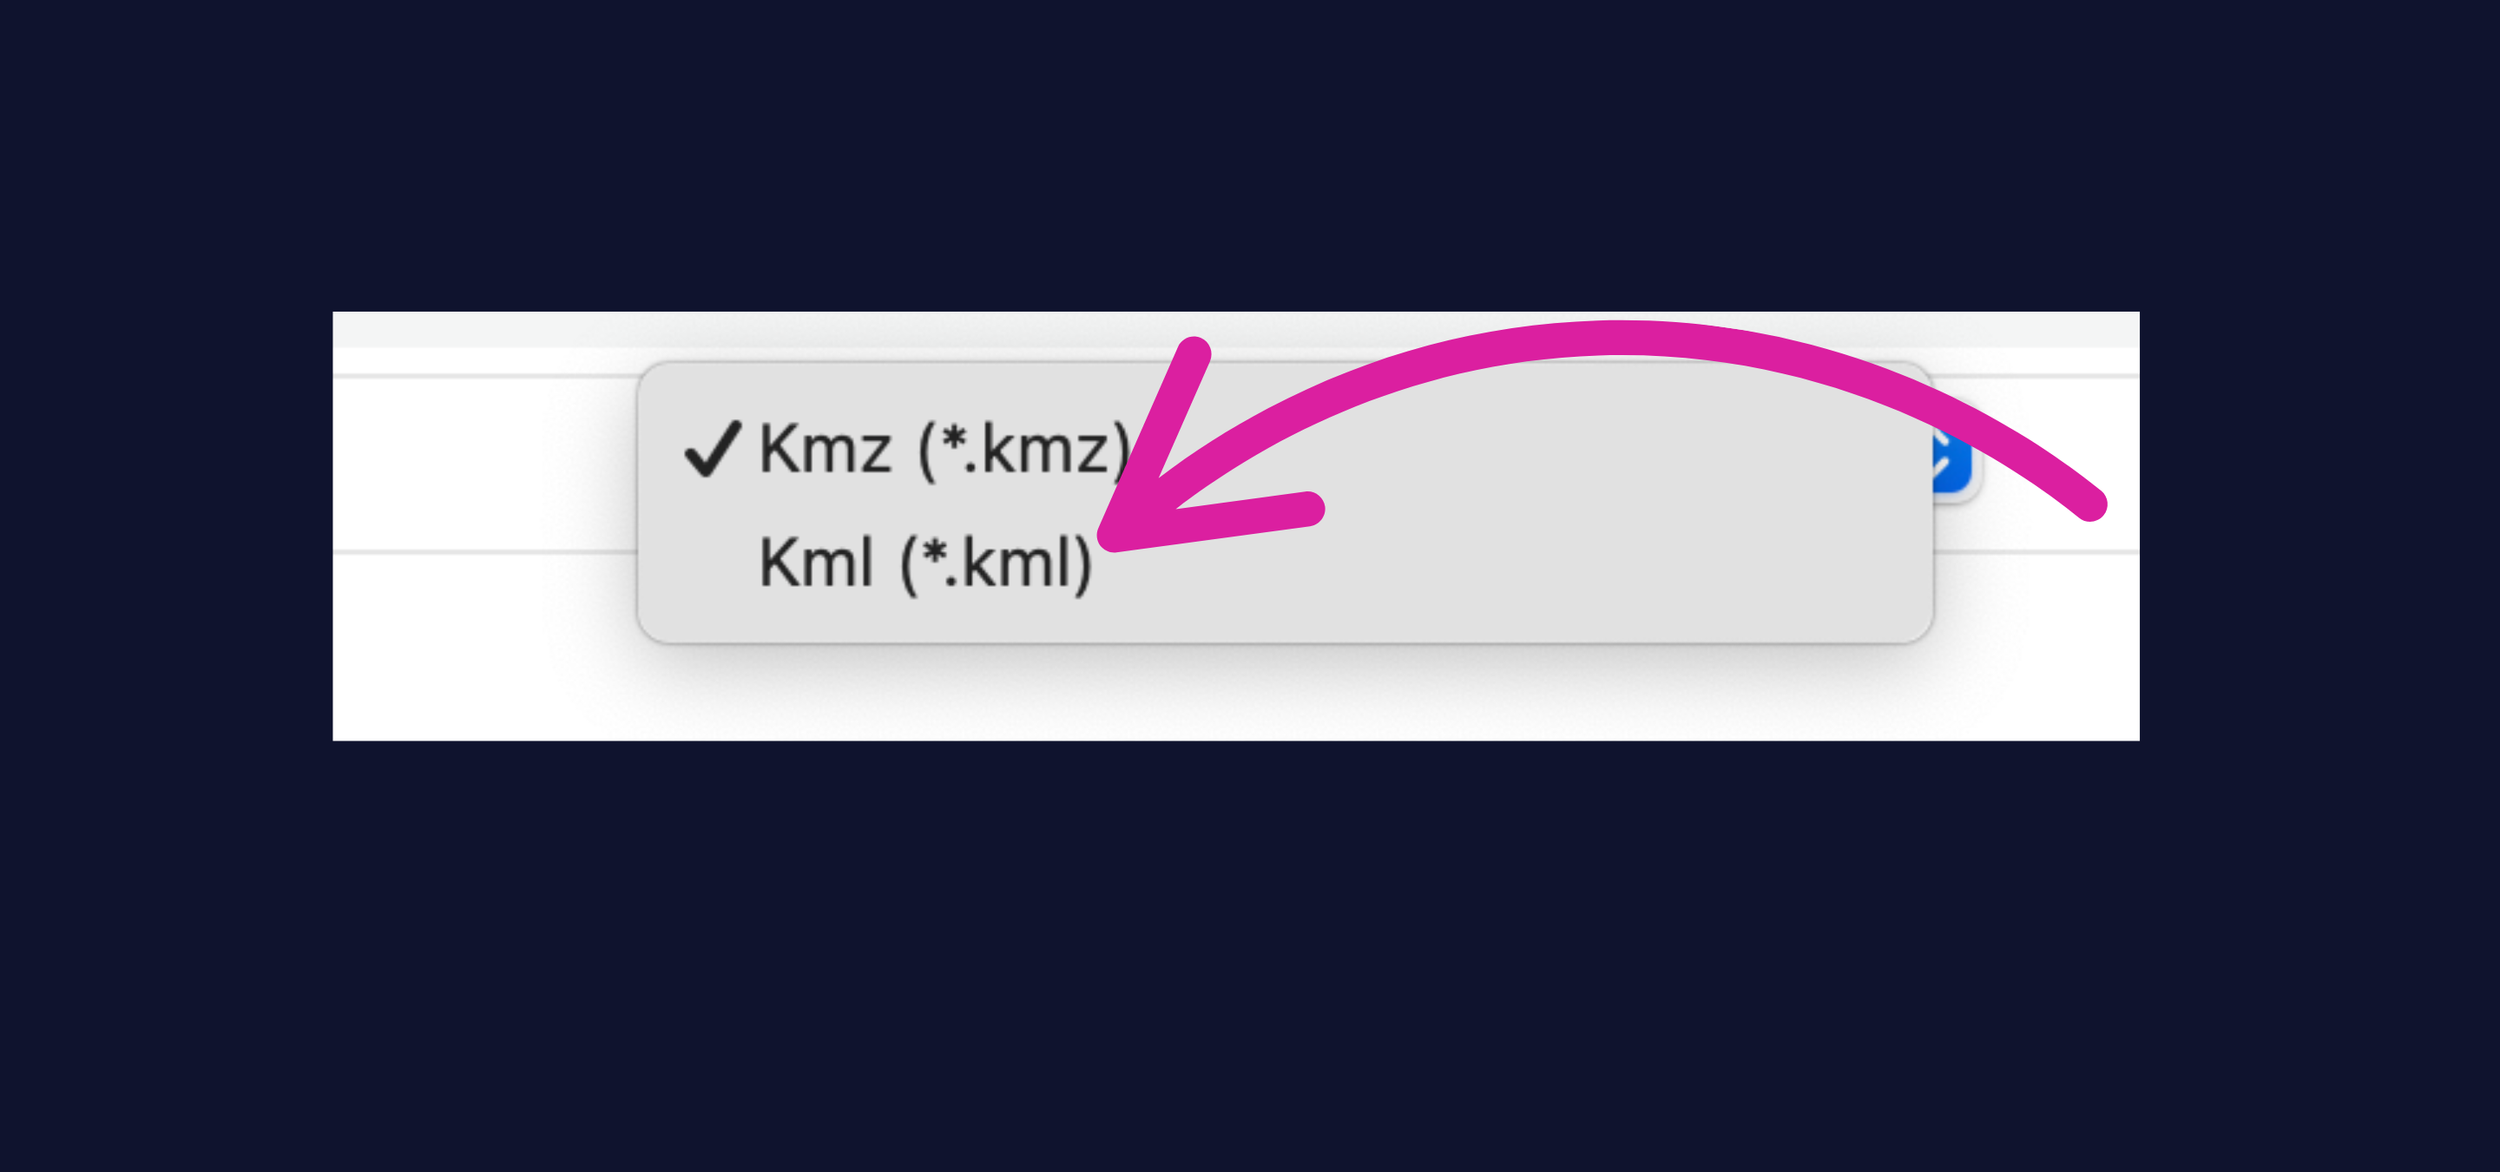
Now you need to download the file:
—> Select “Kml”
—> This will download to your file
In R
Once you’ve downloaded the program and logged in, you’ll create a polygon and save it.
—> Click the polygon feature,
—> Select the way you want the polygon to appear
—> Point and click to create the polygon
—> Click “OK”